
Table of contents
You’ve spent months growing and caring for your cannabis plants—feeding them, training, trimming, and making sure they grow into healthy plants with huge buds. Now comes one of the most crucial steps in the entire cultivation process: drying your cannabis properly.
Drying cannabis isn’t just about removing moisture—it’s about preserving terpenes, cannabinoids, and overall bud quality. If done wrong, you could end up with harsh, weak, or even moldy weed. But if done right you’ll have flavorful, potent buds that burn smoothly and give you the effect you’re looking for.
In this guide, we’ll take you through every detail of the cannabis drying process—from setup to troubleshooting—so you can dry your harvest like a pro.
Why Proper Drying is Essential
Before we dive into the how, let’s talk about why drying matters so much.
1. Enhances Flavor and Aroma
The rich, skunky, fruity, or piney scents of your weed come from terpenes—the delicate compounds responsible for cannabis’ unique flavors and aromas. Improper drying can destroy these terpenes, leaving you with bland, grassy-smelling weed.
2. Increases Potency
The drying process affects cannabinoid levels, including THC and CBD. Fast-drying or overdrying can degrade THC, making your buds less potent.
3. Prevents Mold and Bacteria
Too much moisture left in your buds can lead to mold, mildew, and bacteria. No one wants to smoke contaminated weed—it’s harsh, unhealthy, and completely avoidable with proper drying.
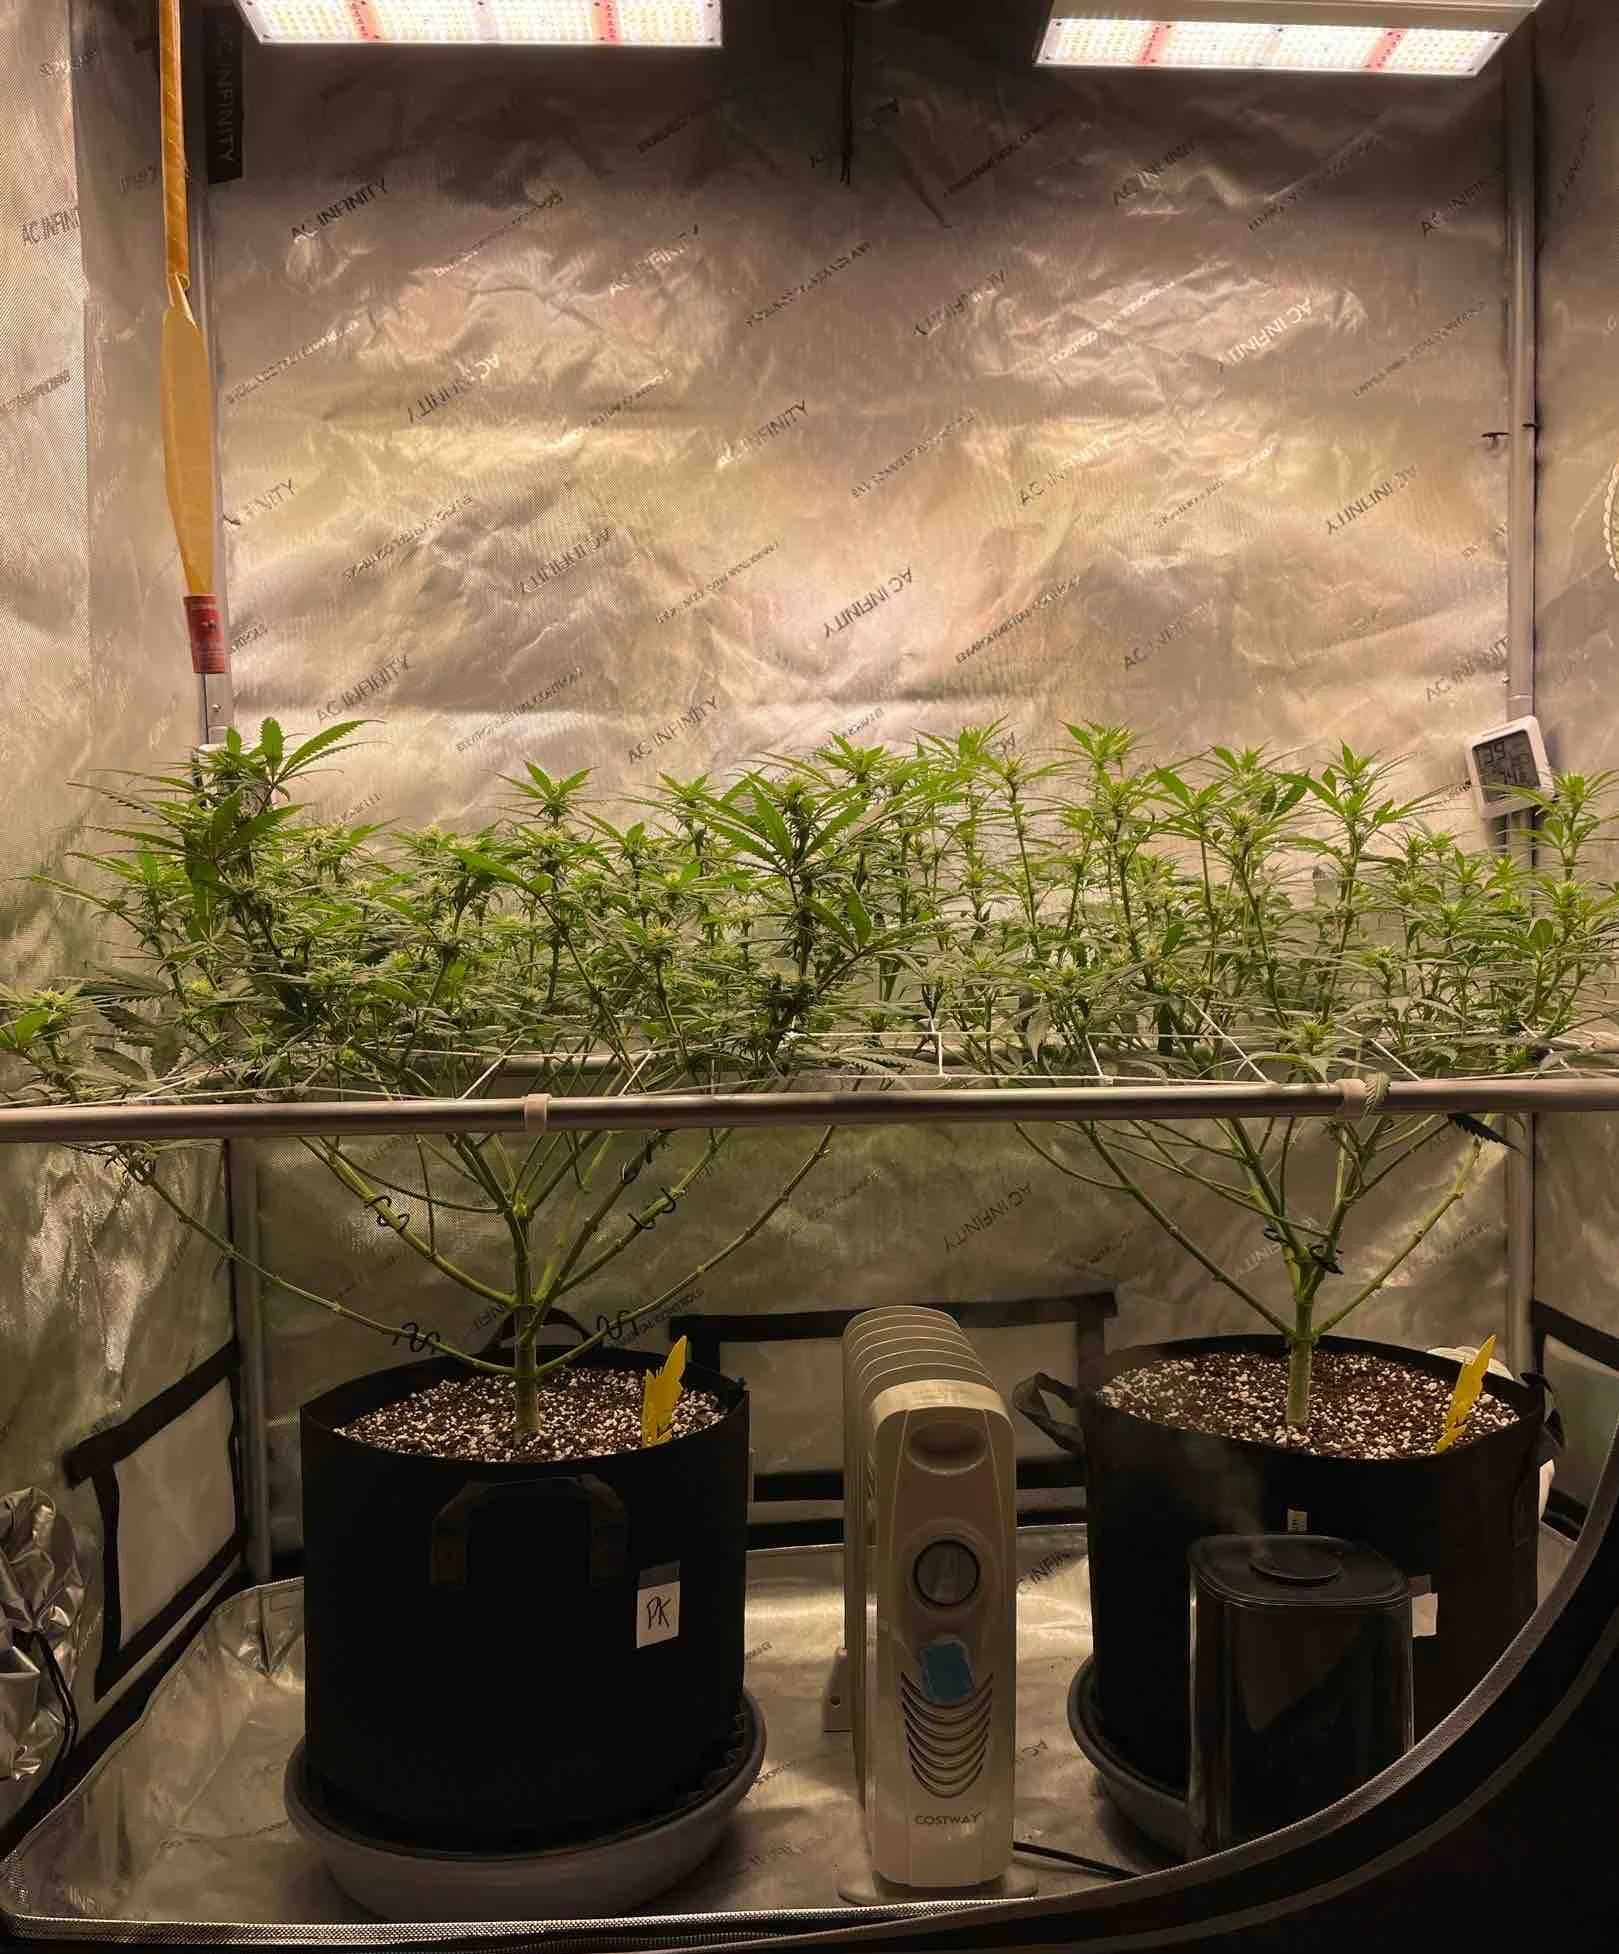
The Perfect Cannabis Drying Setup
1. Choosing the Right Drying Space
Your drying room should be dark, well-ventilated, and have controlled temperature and humidity. Here’s what to aim for:
- Temperature: 55-65°F (13-21°C)
- Humidity: 50-62%
- Airflow: A gentle breeze, not direct airflow on buds
- Darkness: Light degrades THC, so keep your drying space dark
A closet, spare room, or grow tent with proper ventilation works perfectly. The goal is to aim for 60°F and 60% relative humidity, but anything within these ranges should work perfectly fine.
Equipment You Might Need:
- Hygrometer: Monitors humidity and temperature.
- Carbon Filter: Helps control the strong cannabis odor.
- Dehumidifier or Humidifier: Adjusts moisture levels as needed.
2. Decide on Your Drying Method
There are several ways to dry cannabis, each with its own advantages and drawbacks.
Hanging Whole Plants (Slowest, Best for Quality)
- Pros: Slower drying helps preserve terpenes and cannabinoids.
- Cons: Requires more space, takes longer (up to 14 days).
Hanging Individual Branches (Most Common Method)
- Pros: Even drying, moderate speed (7-10 days).
- Cons: Requires hanging space and careful humidity control.
Screen Drying (For Small Buds and Large Harvests)
- Pros: Good for small buds that might dry too fast hanging.
- Cons: Can flatten buds if overcrowded.
Paper Bag Drying (For Small Batches, Emergency Use)
- Pros: Works in a pinch, prevents over-drying in low humidity.
- Cons: Hard to control humidity, can develop a hay-like smell.
Freeze Drying (High-Tech, Fastest Method)
- Pros: Retains nearly all terpenes, fastest drying (24-48 hours).
- Cons: Expensive and requires specialized equipment.
3. Wet Trimming vs. Dry Trimming

Wet Trimming: Trim leaves right after harvest, before drying.
- Pros: Faster drying time, prevents mold.
- Cons: Can dry too fast, leading to harsh smoke.
Dry Trimming: Leave everything on the buds while drying, then trim afterward.
- Pros: Slower drying preserves terpenes better.
- Cons: Can be harder to trim after buds dry.
Which is better? If you live in a humid area, wet trimming helps prevent mold. Otherwise, dry trimming is often the better choice to slow down drying time.
The Drying Process: Step-by-Step
Step 1: Harvest at the Right Time
Your buds should be fully mature before drying. Check trichomes with a magnifying glass—when most are cloudy with some amber, it’s time to chop.
Step 2: Hang Your Buds
- Chop down the plant at the base of the main stem. If you live in a humid environment, consider cutting branches into manageable sizes (12-16 inches).
- Hang the plant upside-down on strings or racks in your drying area.
- If cut into branches, keep space between branches to allow for air circulation.
Step 3: Maintain Proper Drying Conditions
- Monitor your drying environment daily to keep temperature and humidity consistent.
- Use a hygrometer to check humidity.
- Keep air moving with a fan, but don’t point it directly at your buds.
- Avoid opening the drying area too often—this can cause fluctuations.
Step 4: Check for Dryness (7-14 Days)
Your cannabis is ready when:
- The small stems snap instead of bend
- Buds feel dry but slightly sticky (not brittle).
- The outer layer of the bud is dry, but the inside still has some moisture.
If your buds feel too dry, the curing process can help reintroduce moisture. If they feel too wet, extend drying time a few more days.
When testing the stems to see if they snap, all you want is a slight snapping sound. You do not want them to totally snap and break apart. This often indicates you dried a bit too much.
Common Mistakes to Avoid
- Drying Too Fast (Under 5 Days): Buds become harsh, losing terpenes.
- Drying Too Slow (Over 14 Days): Risk of mold and over-fermentation.
- High Temperatures (Above 75°F): THC and terpenes degrade faster.
- No Air Circulation: Leads to mold and uneven drying.
- Direct Fan on Buds: Dries them too quickly and unevenly.
What Comes Next? Curing Your Cannabis

Drying is only half the process—curing takes your buds to the next level.
- Store your buds: Place in airtight glass jars or Grove Bags, filling them about ¾ full.
- Burp the jars: Open them for 10-15 minutes daily for the first 2 weeks. If you’re using Grove Bags, then there is no need for burping.
- Proper storage: Keep in a cool, dark place for at least 4 weeks (longer = smoother smoke).
Proper curing enhances potency, flavor, and smoothness. Some of the best cannabis is cured for 3 months or more.
FAQs: Drying Cannabis
Q: Can I speed up the drying process with heat or a dehydrator?
A: No! Heat destroys THC and terpenes, making your weed less potent and harsher. Stick to slow, controlled drying.
Q: My buds feel too dry. What can I do?
A: Add a humidity pack (like Boveda 62%) in your jars during curing. If you don’t have one, a small orange peel or lettuce leaf can add moisture for a short time. If you still have other cannabis plants growing, cutting off a fan leaf from there works great as well. Remember to check the humidity daily when doing this to make sure you don’t overdo it.
Q: Should I dry buds whole or break them up?
A: Ideally you will want to hang the entire plant all still intact. Doing this slows down the process, preserving terpenes better. But if humidity is high, breaking the plant into branches or smaller sections helps prevent mold.
Q: Can I dry buds in a cardboard box?
A: Yes, but make sure there’s good airflow and the box doesn’t trap too much moisture, or mold can develop.
Q: Do I need special drying equipment?
A: Not necessarily. A dark room with controlled humidity and air circulation is all you need. But a hygrometer and small fan help maintain the perfect environment.
Final Thoughts: Master the Drying Process for Top-Shelf Buds
The drying process can make or break your cannabis quality. Rushing it can ruin flavor, reduce potency, and make your weed harsh. But with patience and the right conditions, you’ll end up with smooth, potent, and flavorful buds.
Take your time, control your environment, and enjoy the results of your hard work. Your lungs (and taste buds) will thank you.
Happy drying! Join us on The HighWay.
Disclosure: When you purchase through links on our site, we may earn an affiliate commission at no cost to you.
Savage has been growing cannabis for over 5 years and founded The HighWay to share honest, tested information with the cannabis community.


Leave a Reply